
Today was my first day in my new role. I jumped at the chance to work with my old boss, John, despite having to leave a great team.
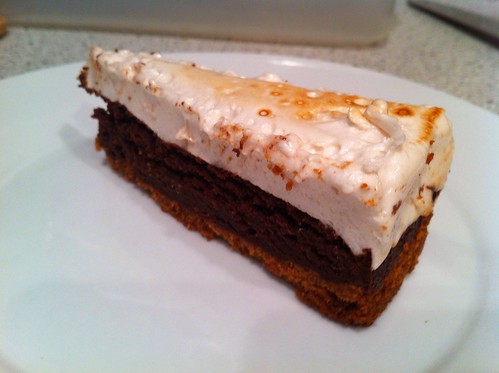
During the interview process, it came up that one of my new coworkers is not only from Hawai`i, a food blogger and an amateur pastry chef, but she also LOVES s'mores. (We later discovered we both had Pinterest boards dedicated to them.) So to give my new coworkers an excuse to stop by and introduce themselves, I decided to make a S'mores Tart I've been thinking about for awhile.
This is the second iteration of this recipe, and won't be the last. The first went undocumented, but differed only in that the marshmallow layer was added prior to baking in the form of chopped up homemade marshmallows. It was a way to use up leftover marshmallows after the last Memento dinner party. Even while making it, I was imagining pouring the liquid marshmallow on top so it could set as a distinct layer... so that's what I did.
3-Layer S'mores Tart
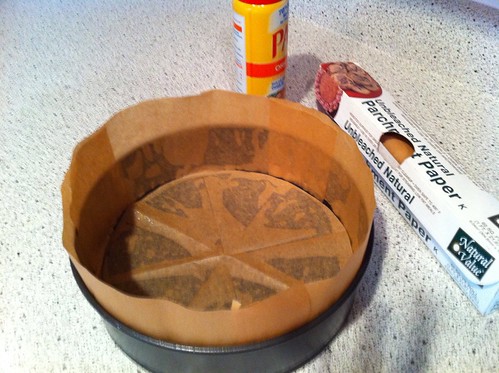
Gather a 9" springform pan, parchment paper, scissors, and cooking spray. Cut three strips of parchment a little taller than the springform pan, and cut a circle of parchment that fits the bottom with little or no gaps.
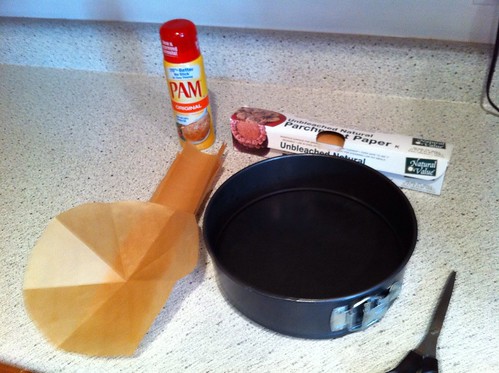
Spray the bottom and sides of the pan w/ cooking spray and line with the parchment paper.
Layer One: Graham Cracker Crust
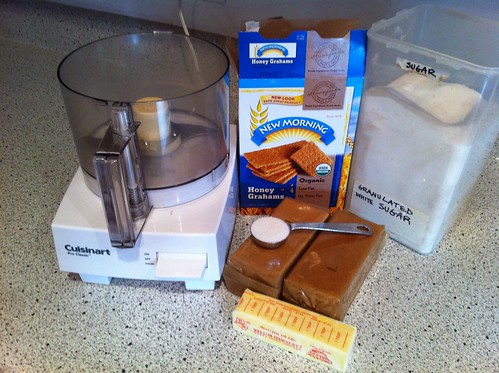
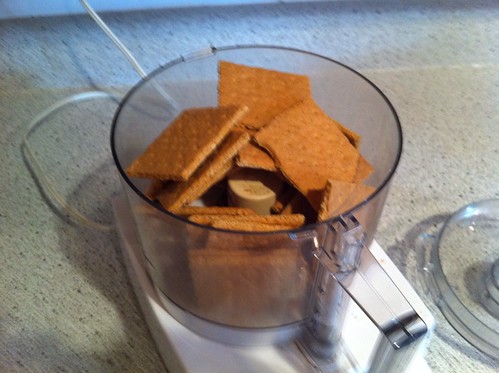
Gather a food processor, 1/4 cup of unsalted butter, a glass liquid measuring cup (or similar container), 20 graham crackers and 2 tablespoons of sugar. Every time I buy graham crackers, they come in large rectangles that are made up of two squares, each consisting of two small rectangles (aka, 4 small rectangles per large rectangle) For the purposes of this, and other recipes, 1 cracker = 1 square, or 1/2 of a full rectangle. That always confused me.
Put the graham crackers in the food processor - break them up to fit them all.
Turn the processor on and run until you have all uniform crumbs. If you have a few larger pieces, pulse it a few times then let it run for awhile more. There's no risk of over-processing - but having a big chunk could throw off the crust, so err on the side of running it longer.
The crumbs should look uniform in size, like delicious dry sand.

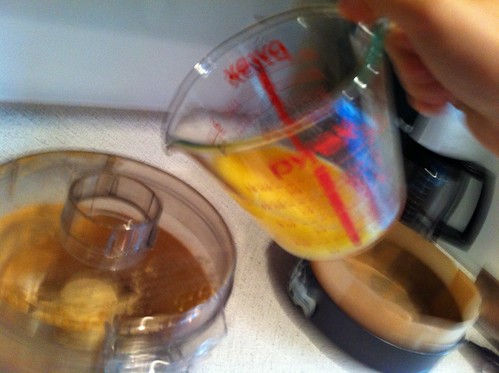
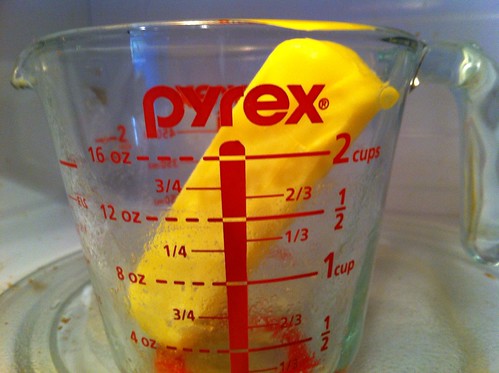
While the crumbs are processing, put the butter in the measuring cup and microwave on high for 30 seconds, then 20, then 10. That should be enough to liquify it. If you need more time, microwave on high for 10 seconds at a time until it's liquid. Don't be tempted to set the timer for 60 seconds! Microwaves heat butter from the inside out, and as the inside of the butter melts, it produces steam. If it doesn't have time to rest, that steam will cause the stick of butter to explode.
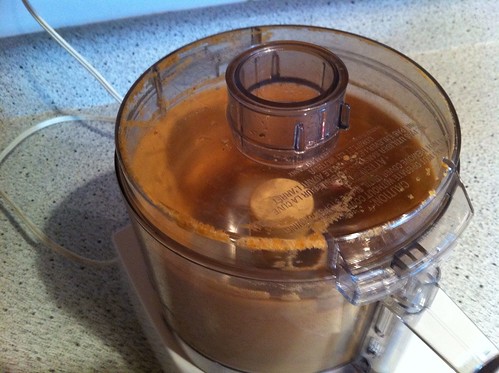
With the processor on, pour in the melted butter.
Continue to process until the mixture takes on the appearance of wet sand - consistently moistened by the butter and clumping together a bit.
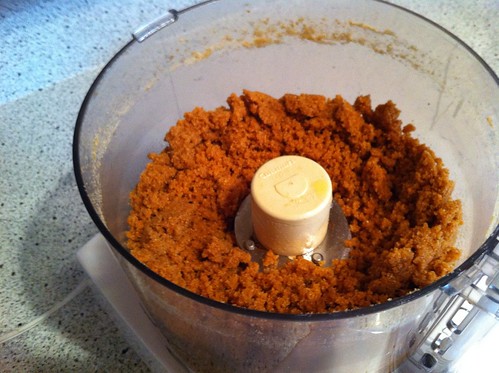
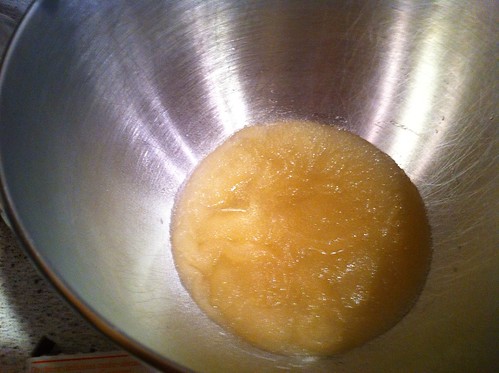
Dump the crumb mixture into the pan and spread to create an evenly thick layer on the entire bottom of the pan.
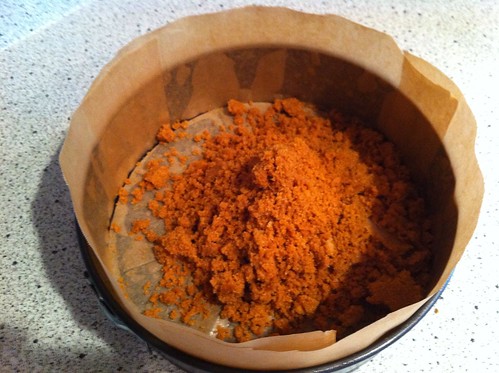
Using a smooth bottomed glass, pack the mixture down.
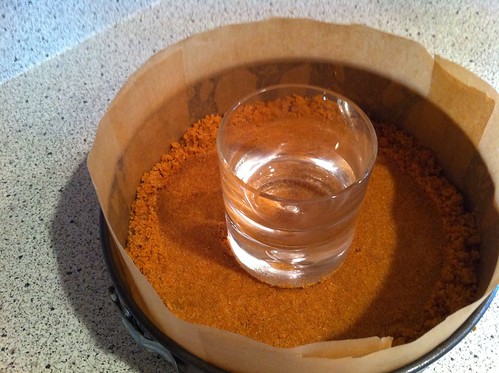
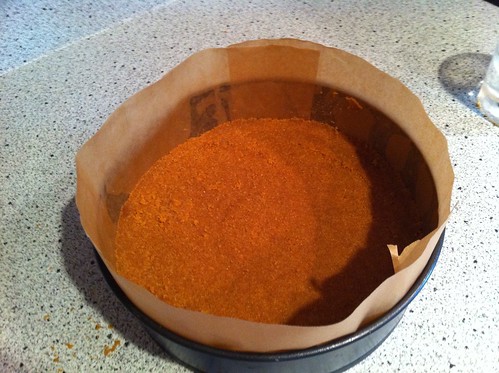
Bake for 8 minutes at 350 degrees F, then allow to cool.
Layer Two: Chocolate Brownie
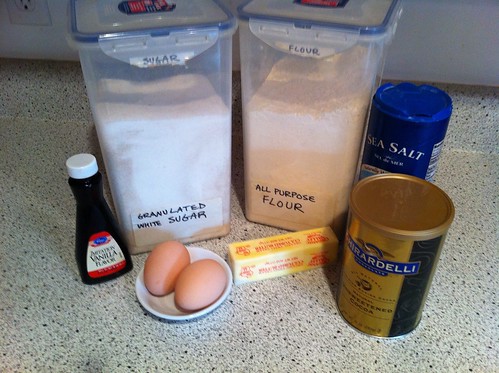
Gather one medium and one small mixing bowls, your glass liquid measuring cup, 1 stick of unsalted butter, 1/2 cup all purpose flour, 1/2 cup unsweetened cocoa powder, 1 cup of granulated sugar, 1 teaspoon of salt, 2 eggs, and 1 teaspoon vanilla extract.
Melt the butter in the measuring cup, as before.
Put all the dry ingredients (flour, cocoa powder, sugar and salt) in a medium mixing bowl.
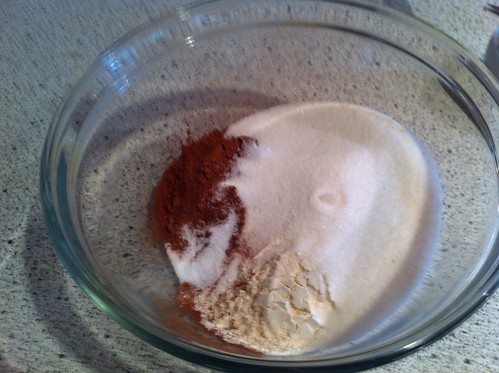
Using a whisk, mix the dry ingredients until uniformly combined.

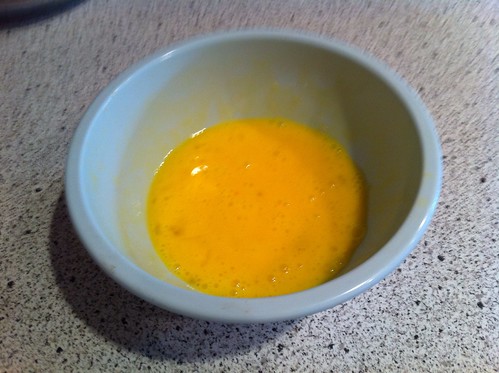
Using the same whisk, beat the eggs in the small mixing bowl.
Add the melted butter, and vanilla to the dry ingredients and stir a couple times, then add the eggs and stir just until the mixture looks all the same color. Avoid mixing it more than necessary to get that uniform look to the batter. It will be a fairly thick batter - thicker than cake batter.

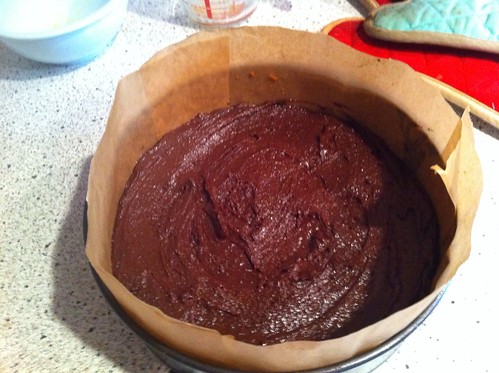
Pour the batter on top of crust and spread into even layer with a spatula. Bake at 350 degrees F for 30 minutes, then set aside to cool.
Layer Three: Marshmallow
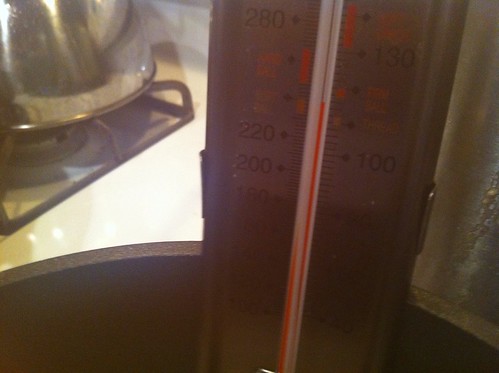
Gather your stand mixer, a medium saucepan, a candy thermometer, 1 cup of cold water, 3 Tbpsn (~4 packets of Knox) Unflavored Gelatine, 2 cups of granulated sugar, 3/4 cup light corn syrup, 1/4 teaspoon of salt and 2 tablespoons of vanilla.

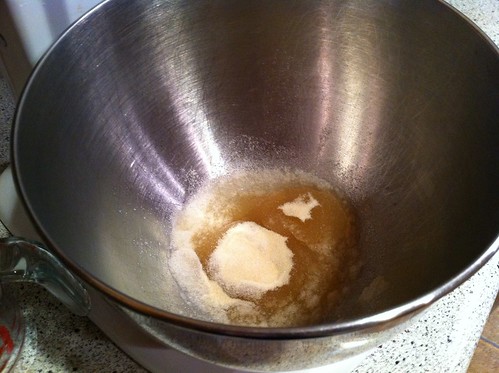
Put 1/2 cup cold water in the bowl of your mixer and sprinkle all the gelatine on top.
Allow to sit for 45-60 minutes so the gelatine can bloom.
Put 1/2 cup water, the sugar and the corn syrup in the saucepan on the stove on high heat.
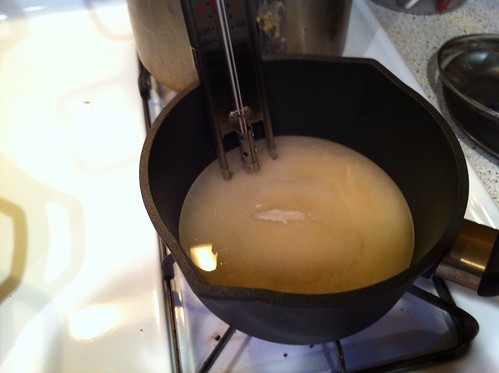
Without stirring, bring the sugar mixture to a boil.
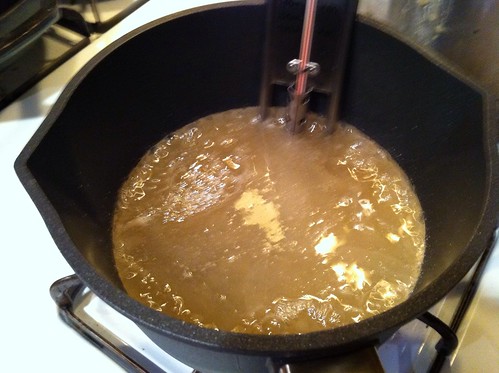
Keep cooking until it reaches 240 degrees - the 'Soft Ball' stage. Remove it from the heat before it hits 244 degrees, as the sugar will move into the 'Firm Ball' stage, which won't produce marshmallow (but will give you a nice caramel).
Remove the sugar mixture from the heat and (with the mixer on low), pour it all into the mixer.
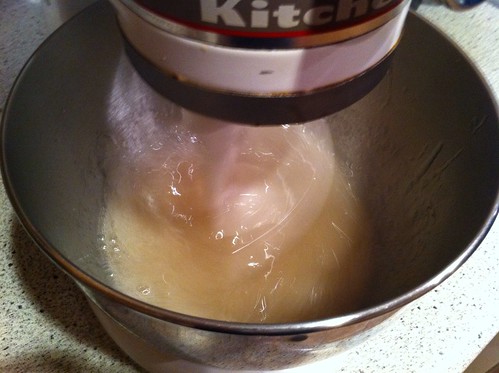
Increase the speed of the mixer to high and continue mixing until it doubles in size and becomes shiny and white. This will take about 15 minutes.
Pour the marshmallow goo into the springform pan on top of the cooled brownie layer and leave it out on the counter overnight to set up.
Open the springform pan to remove the tart, then pull off the parchment. The graham cracker crust should be firm enough that you can slide it off the pan bottom and pull off the parchment circle - but treat it gently.
Using either a butane/propane torch, or the broiler of your oven, toast the marshmallow layer to give it that signature golden brown look and toasted taste.
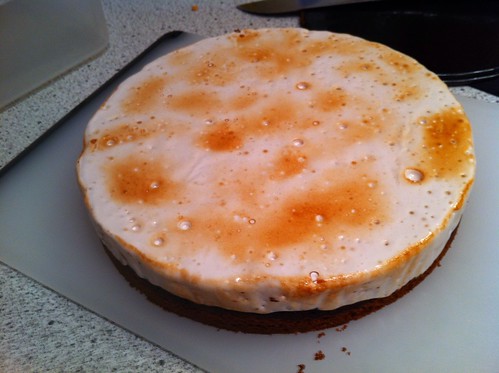
Cut and serve!
These were a bit hit with folks at work. One person came back for 3rds, which I took as a very good sign. But there were a few logistical issues I'd like to work on solving in my next iteration (and there will definitely be more iterations).
1. The marshmallow layer pulls away from brownie layer, particularly on day two. Perhaps melted chocolate or even a ganache in between the layers would help bind them?
2. The marshmallow is very sticky, making it difficult to cut and causing the pieces to stick back together even after cut. Perhaps I could make individual tarts in a muffin pan using aluminum baking cups or simply a silicon muffin pan. Portioning out the three layers would be more difficult, but serving and eating would be simpler.
3. I used less than half the marshmallow mixture (using the rest to make coconut covered marshmallows. I could try cutting back on the volumes by about 1/2, but this risks the volume being so small it won't function properly during the sugar boiling and mixing stages.
As it turns out, it was a good week to be experimenting with S'mores on our street. Just down the block, our neighbor Twice Cooked Half Baked was making a deconstructed s'more treat with her kids!
(Graham Cracker Crust recipe from BakeWise: The Hows and Whys of Successful Baking with Over 200 Magnificent Recipes


No comments:
Post a Comment